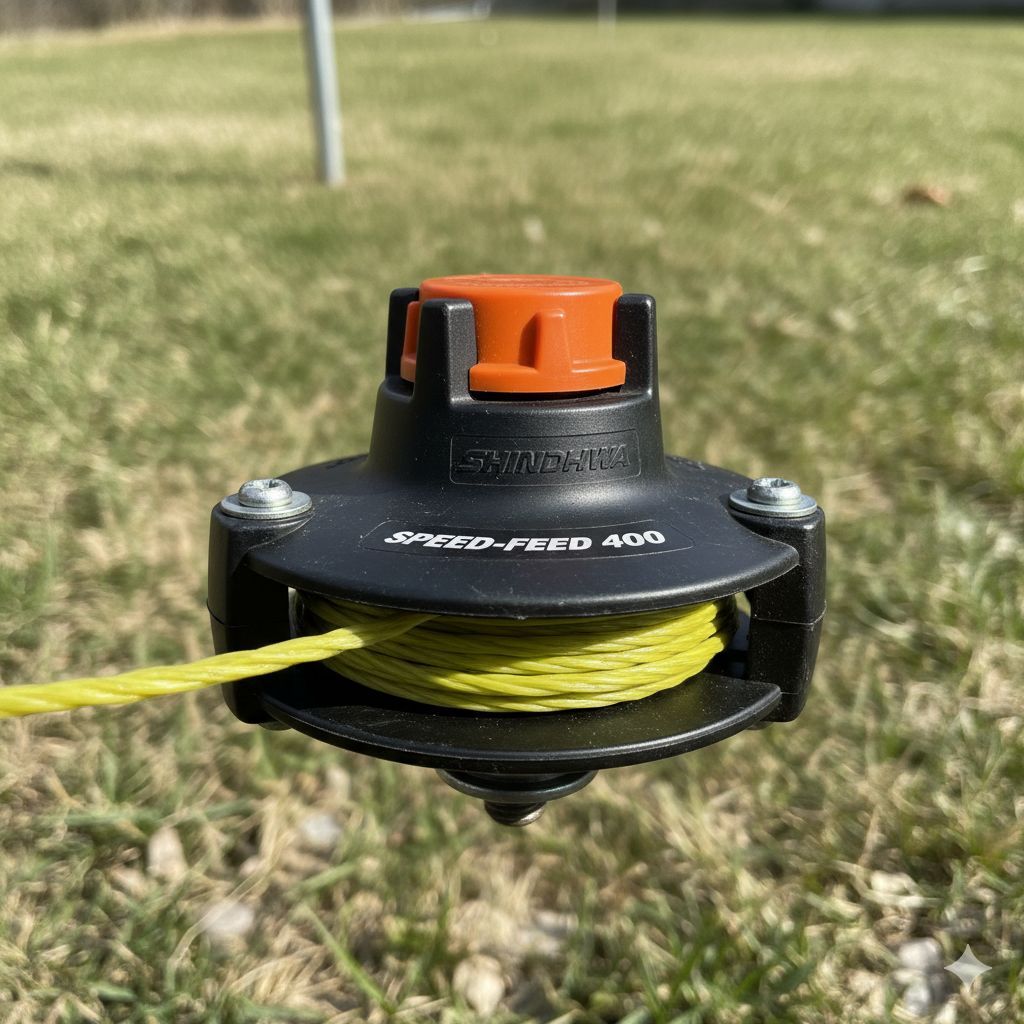
How to Remove Shindaiwa Weed Eater Head
The Shindaiwa weed eater is a reliable trimmer that stands out for its precision and balanced power-to-weight ratio. Models like the Shindaiwa T235 and T262 are commonly used across both residential and commercial applications in 2025. One of the most common maintenance tasks is removing the trimmer head, whether for cleaning, replacing the trimmer line, or switching to another type of head.

Understanding Your Shindaiwa Weed Eater
Properly removing the trimmer head ensures your equipment continues to run efficiently and prevents damage to the drive shaft. In this guide, we’ll walk through how to safely and correctly remove the head from your Shindaiwa weed eater.
How to Remove a Shindaiwa Weed Eater Head
- Turn off the trimmer completely and disconnect the spark plug wire to prevent accidental starts.
- Position the trimmer so the head faces upward and locate the locking hole near the gearbox.
- Insert a small screwdriver or locking tool into the hole to stop the head from spinning.
- Firmly grip the trimmer head and turn it clockwise to loosen and remove it (Shindaiwa heads use a reverse thread).
- Once removed, inspect the area for debris, wear, or damage before reinstalling or replacing the head.
Step-by-Step Table: Removing the Shindaiwa Trimmer Head
| Step | Action | Explanation |
|---|---|---|
| Step 1 | Power Off and Secure | Disconnect the spark plug and set the trimmer on a stable surface to avoid movement. |
| Step 2 | Locate the Locking Hole | Find the small hole in the gearbox housing; this is where you insert your locking tool. |
| Step 3 | Insert the Locking Tool | Use a screwdriver or included pin to stop the head from turning while loosening. |
| Step 4 | Loosen and Remove | Turn the trimmer head clockwise to remove (it’s reverse-threaded). |
| Step 5 | Inspect and Clean | Clean the shaft and gearbox area before installing a new or replacement head. |
Common Reasons to Replace the Trimmer Head
- Worn-out threads or stripped housing from overuse.
- Excessive vibration or uneven trimming performance.
- Difficulty feeding the trimmer line or damaged spool housing.
If your Shindaiwa trimmer head is worn or not functioning correctly, replacing it ensures optimal cutting efficiency and balance. You can find genuine Shindaiwa parts online—including trimmer heads, spools, and gearbox assemblies—right from our parts catalog.
Maintaining Performance with OEM Parts
Using original Shindaiwa replacement parts guarantees the best fit and durability for your trimmer. Our Shindaiwa parts store provides components that match OEM specifications—helping your trimmer maintain power, precision, and balance over years of use.
Recent Posts
-
How to Remove Shindaiwa Weed Eater Head
The Shindaiwa weed eater is a reliable trimmer that stands out for its precision and balanced power …Nov 12th 2025 -
How to Restring a Shindaiwa T230 Weed Eater: Complete Procedure
Knowing how to restring a Shindaiwa T230 is one of the most important components of maintaining your …Oct 8th 2025 -
Instructions for Starting a Shindaiwa T262 Weed Eater
The Shindaiwa T262 weed eater is one of the most reliable, professional-grade trimmers available on …Oct 3rd 2025


